Today I decided it was time to make a cover for my sewing machine. I got the idea from here. I read the blog and decided, "I could do that," and got started. Now let me tell you, this is why I am a complete novice sewer. I must take the time to plan things out much better, even though this will serve its purpose, it was a major fail. I will go ahead and give you my tutorial, but be forewarned. I make lots of mistakes. I will point them out as we go because I believe that there is a lot that can be learned from others mistakes. So here it is, my sewing machine cover tutorial/fail

Start out by measuring your sewing machine. Take into consideration all the things that stick out, you will not want this to be too tight. You will measure your height, width and depth. These pieces are very important because this is what you will cut your pieces from.
You will cut one piece that will cover the main part of the sewing machine, and two pieces that will cover the sides. I wanted to line my cover, so I cut one white piece of each and one blue piece of everything. I also wanted pockets, so I cut two white and two blue that are slightly smaller than the side pieces.

I started with making the pockets. Put your wrong sides of fabric together and sew them together. Be sure to back stitch.

I ironed it so the seam allowance was on the blue side. I did not want it to show through the white.

Fold your fabric out. I wanted to have a border around my pockets, so I measured one inch of white along the top of the blue.

I then ironed it down so it would have a nice crease.

Then I pinned them, so it would not move when I put in a quick stitch.

I then put a quick stitch across the blue to hold this in place. I did not want it to shift when sewing everything together. Repeat this process with the 4 side pieces. I wanted to have a 1" trim of white along the bottom so do it exactly the same as you did the pockets, but of course it will be a bit bigger. Double check that you have your pieces facing wrong sides together when you sew. My first mistake I noticed is that for my side pieces I did not do that and I had to tear them apart and start again.

Now its time to attach the pockets to the side. Had I planned ahead better I would have done this earlier when I made the sides. I could have saved myself some hassle by inserting the pockets when I attached the blue to the white. But I did not think about that until it was too late, so here is what I did. It is sort of hard to see but with your side panels facing right side up, place your pocket upside down and right side down. Pin them together as close to the bottom trim as possible.

Now stitch them together.

Trim off the extra fabric. (Do not throw this away! I put all my fabric, ribbon and paper scraps into baggies to save for later. You never know what you might be able to use these scraps for. I plan on making wreaths out of the fabric and ribbon scraps. Once I get enough you'll get to see that tutorial.)

Fold your pocket up and iron it into place.

I sewed a quick stitch up the side to keep it from shifting when I attach everything together.

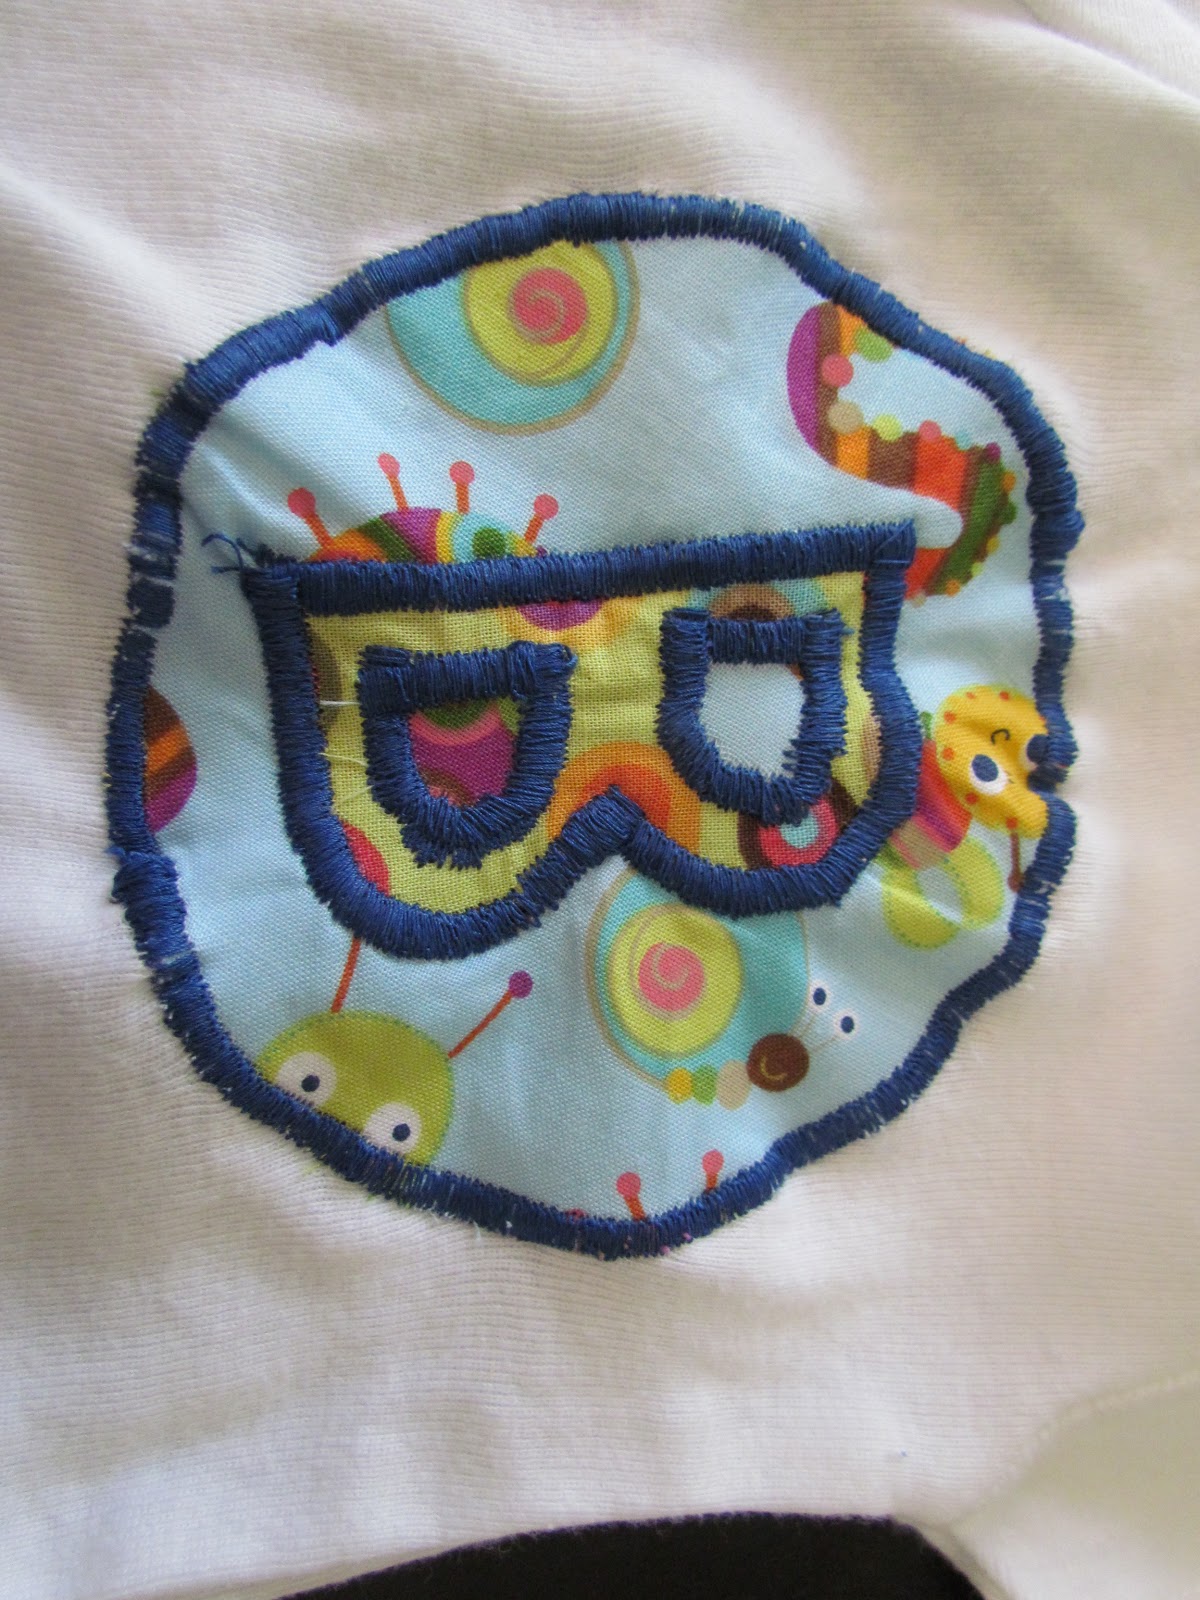
This is what your side pannels will look like when you are finished. See how much nicer it would have looked if I would have sewn the pocket in when I attached the white and blue side pieces. Oh well, this works :)

Sew your two large pieces together like you did the sides and iron the seam allowance to the blue side again.

Fold right side out and leave a 1" white border along the edge, just like done before... Do a quick stitch to hold it in place.

Turn it all inside out, and sew the other side together, doing exactly like you did before.

Turn it right side out and this is what it will look like.

Now its time to assemble this beast! Take your two sides with pockets attached. Put them face down on the face up large piece. Match up your borders. Since we stuck with 1" all around these should match up perfectly.

Pin it all together!

Sew up the side (dont forget to back stitch). Since we are sorta just making as we go and not from a pattern make sure all your layers of fabric are being stitched. If you forget one you'll regret it later.

This is what it will look like when its all stitched. Pretty good!!!

Now fold it up so you can pin the top piece.

Do the other side.

Sew them together. Take extra care to start your stitch right where you left off with your last one. This is imporant, and back stitch too :)

Whoops what happened here??? This is where my novice "I can do that" attitude gets me in trouble. I did not pay attention to my measurements enough, so my borders dont line up... at all!!! I either made the big center piece too big, or the side pieces too big... not sure which one I did yet. Anyways.. Fold it up and pin it together and stitch it down.

Here is your finished product... So I realize I made my sides too long. This whole thing needed better measurements because it is too big. I guess its not a good idea to just add a couple inches here and a few inches there when cutting out your pieces. So anyways, I have a cover for my sewing machine, the huge mistake is hidden, and this serves my purpose.
I usually do not do a tutorial on my first try at something. I will make one, and then do a tutorial so I can make sure to do it correctly, but since I am only making one sewing machine cover you get my first try at it. But just remember, you learn from your mistakes and your next project will be better because of it. This works for what I need, and I am ok with sharing my mistakes.
I did want to share that I am making a lot out of this fabric because It as our curtains in our spare room for many years. I had purchased the fabric and made the curtains. Since our spare room turned into a nursery in this house, I dont need them anymore. Instead of throwing away perfectly good fabric I am reusing it. You will also see me use a lot of white fabric for a liner or backer. This is because this is an old sheet set that is too hard to use as a sheet. It makes for a perfect fabric. I got this sheet when TMO decided not to ship our linens with our express shipment in Japan. So we picked up the cheapest sheets we could find. Now its my fabric. When you are trying to sew to save money do not be afraid to use things you already have for fabric. I have set aside shirts that Bob and I will no longer use, and Bob's cami's that are no longer useable. These are all fabrics to me. To buy by the yard almost gets more expensive than buying premade clothes, be thrifty where you can.