Monday, August 15, 2011

Reading Tent, Play Fort

I finally had a break this week to be able to make this reading tent/fort for Alison.  I got the idea here, but since we know I hate paying for patterns, I thought "I can do that" and came up with a plan.  What I got was a large (this one is 30"+ across) hula hoop.  A pretty queen flat sheet, and a queen 40x80 sheer curtain.  I also had a large button, elastic hair tie, 4 - 50" ribbons, and coordinating thread.  Oh, and a hook to hang it from the ceiling.

So I did nto pin, because it was too much fabric, I went ahead and just started sewing.  I took the long side of the sheet and folded it over about 3" and sewed a straight line.

I then went and did a zig zag, because I know this will bee stability.  Just do one side of the sheet.  make sure you fold it correctly so the right side will be on the outside and the wrong on the inside.

Now,  decide what side you want the door to open on.  I wanted it to open to the right, so I found that side of the sheet and put the right side of the sheet to the right side of the curtain and sewed down.  Do not sew over the openings at the top.  You will need those!


I also zig zag stitched down for security, leaving the top open.  You will then sew down about 20" on the other side.. this will keep your fort together.  Do not sew the whole length of the curtain, just enough to hold it closed, but you want your little one to be able to get in and out.  Also, my curtain happened to be the same length has the sheet width.  So I did not have to cut it at all and hem it.  But you should measure them to see if you need to trim any curtain, and then hem the bottom. 

This is what you will have when you are done attaching the curtain.

Here is my Hula Hoop.  I tore off all of the stickers going around it because they were pretty lose all ready. 

I was thrilled to see that this was just stapled together and had a plug.  

 I used a staple puller and pulled out the staple that was holding it together.. then I dumped all the noise makers that were inside in the trash.  I double checked to maek sure they were not something I could reuse, but they were not. 

Now feed your hoop thoough the top.

When you are done it will look like this.  You will need to secure up the opening to make sure it stays in place.

I just used electrical tape.  It doesnt look pretty but this will be hidden.

This is what you will now have.

Start attaching your ribbons.  I did one ribbon on the openings on each side of the curtain.  Use extra knots to make it secure, I left some hanging down because I thought it would look girly.  This is where you do what you think will look best.

As you noticed I used different colored ribbons, again with all the color in this tent I figured that would look nice.  For the two ribbons that did not have openings already I just used scissors to poke a hole through and tied the ribbons on.  I tried to position them equally around the hoop, but there is some give because you can move them around.

Now figure out where to hang the fort.  and put hook in the ceiling.

Gather your ribbons together and tie a very secure knott.  You will do this where you want it to hang from. 

Hang from the hook.

Now its time to attach your button and hair tie.  This will be used as a way to hold the opening open.  I tied the thread to the hair tie very tightly, then figured out where I wanted to put the button.

Start sewing on the button, you will want to have the hairtie on the other end and attach them at the same time.  This will make it all secure.

hair tie sewn on with thread used to sew on button.

Now you can open the fort and keep it open.

I wanted something that would keep the fort open a bit, so I took two small nails and nailed them to the wall.  I use this trick with curtains too.  It will keep them in place without being obvious.

Here is the top..

And I added a matching bean bag on the inside.  I think it might be just a little too small, but it will work :)

And you have a happy little girl!
Here is the finished product.   With a larger pillow or bean bag at the bottom it would stay open more.  The whole project cost less than $50.  I was going to make a pillow, but found the bean bag for reasonable and decided to just go with that.  You can do this in any color and design, be creative!  These are great for boys and girls :)  Happy Crafting!

Saturday, August 13, 2011

Wall Butterflies

I saw these butterflies here and knew they would be perfect in the nursery.  I didn't see a tutorial, but knew they could not be too hard to recreate. 

Lucky for me Alison had this toy butterfly and I traced around it onto a heavy piece of paper.  Then I cut it out and I had my template for the butterflies.  You could draw yours free hand or find any picture of a butterfly and just get an outline. 

I used scrapbook paper for the butterflies.  I had a lot of scraps laying around, so I just found pieces big enough to cut two butterflies out of.  I used two cutouts of the same color for each butterfly, but you could use different colors, be as creative as you want.  Always trace on the wrong side of your paper, so you don't see lines.  Then cut it out with an exacto knive or scissors, whichever you prefer.

Then cut it out with an exacto knive or scissors, whichever you prefer.


If you like you can use a sharpie to outline the edge of the butterflies to give them a more finished look.  I forgot to do that in this step, so I did it later.  It would have been much easier to do here.  Anyways, after your butterflies are cut out gently fold up the wings of both butterflies, keeping the body area flat. 

Using craft glue, add a small line to the body part of the bottom butterfly.f

Place the top butterfly on top like this.  Give it time to dry and you are done.  I did more of an assembly line since I wanted to make a lot of these little guys.  I'd trace them all then cut them all, and then glue all at once.  They were so easy.  I actually used this as my craft to do at nighttime when I was just sitting on the couch watching tv.  I like crafts that can be done while relaxing :)

Here is what they look like on the wall of the nursery.  I used wall puddy to attach them.

I'm wondering if I should make a few more.  I like how they fill up a blank area without overpowering it.  Have fun crafting :)

Friday, August 12, 2011

Pillowcase Dress

Pillowcase dresses have been around FOREVER!  I absolutely think they are adorable.  There are so many tutorials out for them that I do not think there is anything that I can add to them.  This is one tutorial that looked really easy and explained well.  Here is another that looked pretty easy. 

This is the quick run down of how I do it, no patters, just sew :)

I just cut the fabric wide enough and long enough in two rectanges. 
Cut out smalll areas for the arms.  You need less armhole than you think. 
Then Hem the bottom of the dress.  At this time is when I add any embelishments I want to the bottom of the dress. 
I connect the two rectanges with a straight stitch and a zig zag to secure it.
Add the biased tape to the armholes (or just hem it up, biased tape makes them look better).
Hem up around the top of the dress.. allowing about an inch opening in order to be able to thread the ribbon through.
Thread the ribbon through, cut any excess strings and wear :)  OH!  Use a lighter quickly on the tips of the ribbons to keep them from fraying.


On this one I sewed three ribbons together for the top so it would have extra color.  It was easy and the top matches the bottom.  I also only used one ribbon making one bow.

This is the first dress I made Alison.  I used two ribbons at the top, and she has two bows, one on each shoulder. 


Be creative with these.  I think the accents really make the dresses adorable.  Google Pillowcase Dresses and you will get plenty ideas! :)

Tuesday, August 9, 2011

Decorated Wipes Case

We love to have pretty stuff for the baby.  There is no sense in having an ulgy wipes case with all the other pretty things we buy.  Instead of spending too much on a wipes case, make your own :)  Now there are tutorials all over the web for these.  This is how I make mine, I did not invent them, just have made quite a few and have learned what looks best for me.
This is what you will need... One huggies travel case (the have different brands, and I have tried them, huggies seems to work the best).  Two pieces of fabric cut 6"x9.5" (this is a little large b/c if it has a pattern on it you want to be able to move it around and put it on as you need.  Plus you want to be able to pull and tighten the fabric as needed.  Two pices of quilting binding cut a little smaller than the fabric. I usually just put the wipes case on it and trim around,.  And Rick Rack (not sure this is what it is called) tape.  You can get this at most fabric stores.  The color variety is not very good, but you can find it.  Get creative with what you use as a border.  I tried ribbon but will not dothat again b/c when hot glueing it on it looked terrible.  Maybe there is a trick to the ribbon, but I have not found it.

Heat up your hot glue gun.  I try to line up the batting with the back, straight side of the case.  Apply a small amount of glue at a time, if you apply to much it will harden before you attach it.  Do this to both sides. 

Once it is all glued down (it doesnt take tons of glue, just enough to keep it from moving) trim the excess batting... I just use scissors and trim around the top.  It does not have to be perfect, but if you make it neat it helps.

Now its time to glue the fabric.  I start on the back straight side again.  I will put a 1" spot of glue in the center and attach the fabric.  I try to line it up so I do not have too much excesstht needs trimed, you will have some around it, so dont worry.  If you have a pattern then center the pattern how you want it and then glue it down.  Slowly work down the back and finish glueing it.  Do not glue the corners.  Doing those last makes it look much nicer.

 Now glue the front (curved) side of the wipes case.  Do it as you did the back, but pull the fabric tightly.

After the front is done, do one side at a time.  Again, leaving the corners open.  Once Everything else is glued, glue one corner at atime, pulling tightly to make it look smooth.

This is what it will look like.  Use an exacto knife to trim off all the excess fabric.  Once you have it trimmed repeat glueing on the other side.  I find doing one side of fabric at a time is easier, less to fabric to move around.  I save all my excess fabric.  I can use those for something later, I am sure :)

Once both sides are done it will look like this.  Do not worry if your cutting with the knife isnt perfect, you will cover it up.  Also, make sure you open the case periodically or you might just glue it closed.

Now its time for the rick rack tape binding.  Pick out a color that compliments the fabric.  Start on the back, straight side, and slowly glue about an inch at a time.  Try to keep it as straigh as you can.  Line up the inside edge with the opening of the wipes case.  Pull it snug, but dont pull too hard.  Slowly go around the whole case.  Glue it until it matches up in the back again, cut it and start out again.  I did not meaure the amount that I used, I just losely wrapped it around the case twice and that was how much I cut off.

This is what the front of the case will look like.
Admire your finished product!  Be creative.  Before you put the rick rack on add a ribbon across the top.  Or iron on an aplique to the fabric, or even crystals.  Whatever you can imagine you can do.  You can use all types of fabrics for this too.  Pretty much whatever you want to make it out of you can.  Let your imagination determine what you will do :)

I will add pictures as I make more :-)  Pictures give me lots of ideas!
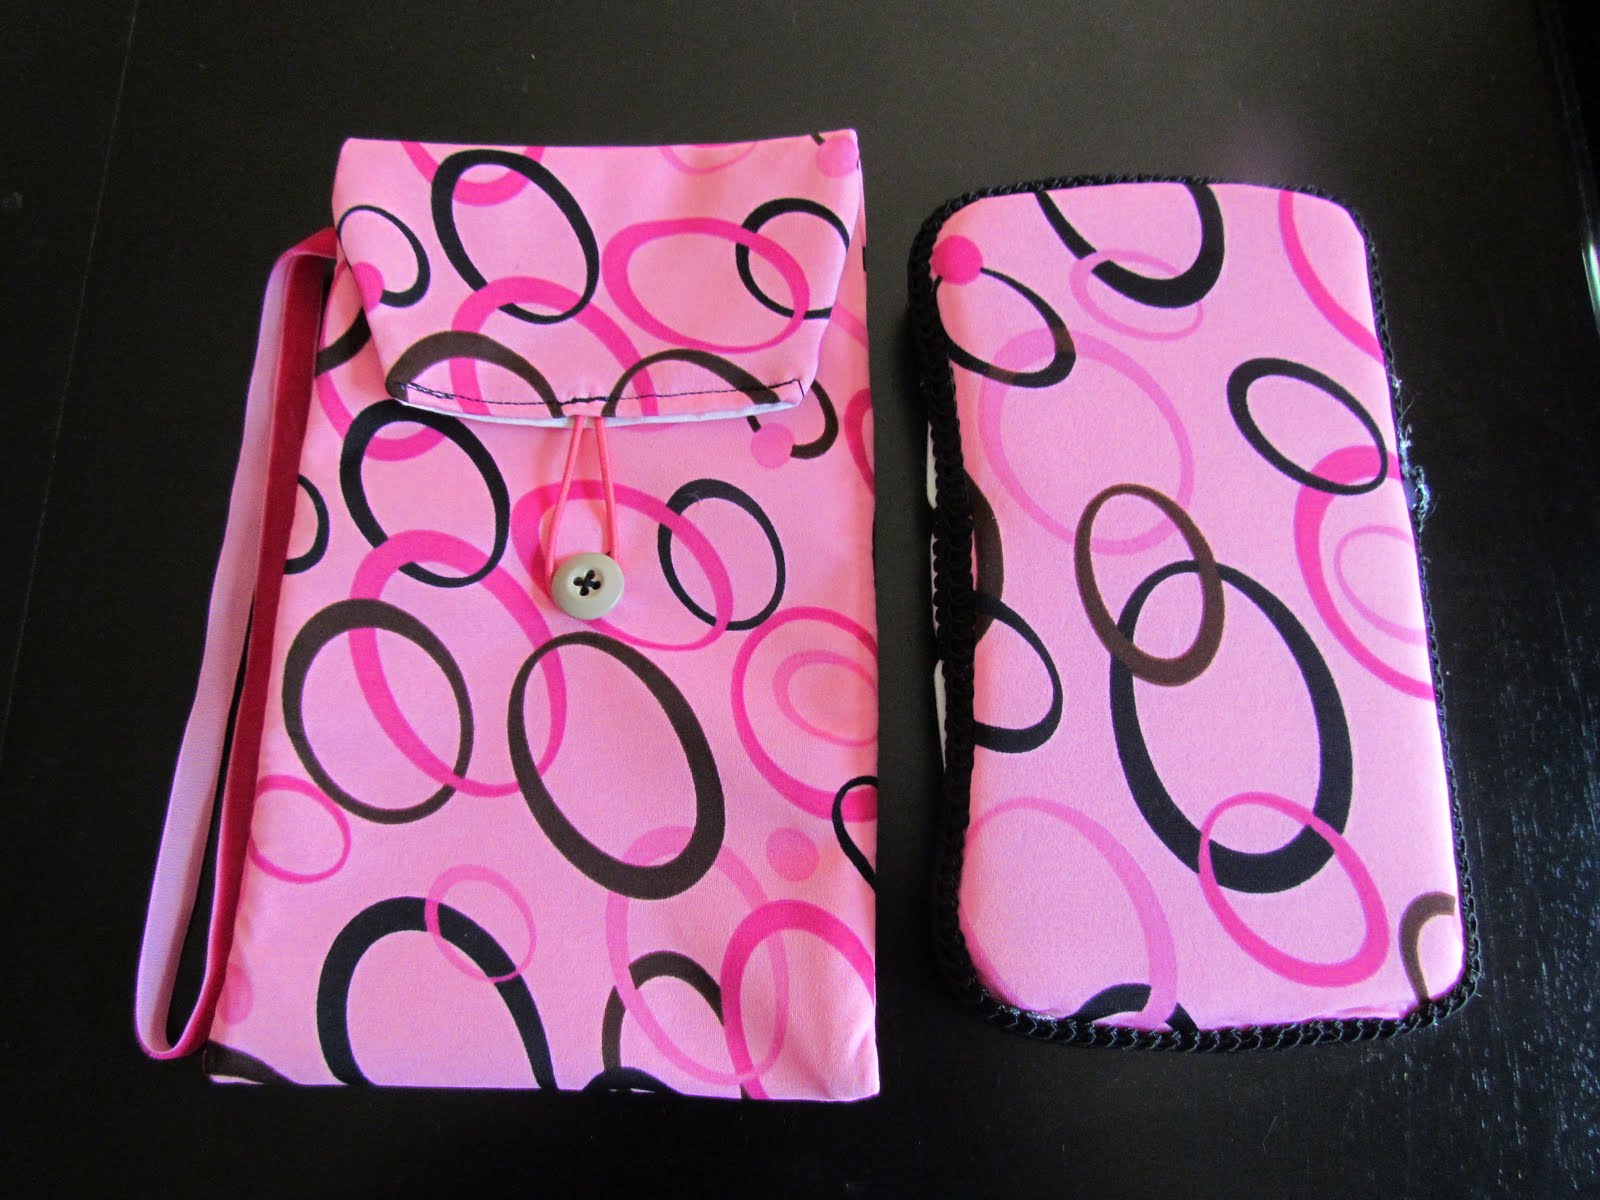
This one was actually made out of lycra material.  You can use most any material for these clutches and wipes cases!


DIY Magazine Holders

Alison has the bottom two shelves of our large book case for toys and books that se wants to play with in the living room. The books are always a mess and I got tired of straightening them up.  I came across a blog that showed how to make at home magazine holders and I thought this was the answer to my problem.  The tutorial I got it from was too good to recreate, so go here to learn how to make them yourself. 

The only thing I did was added scrapbook paper to them with mod podge.  It took two sheets per magazine holder.  I simply laid my holder down and traced all 4 side.  Then put a layer of mod podge on the holder and put the paper down.  I then put one layer of mod podge on the outside  When it as all dry I traced the borders with a sharpie to give it a more finished look instead of seeing the white of the paper and the perforation of the cardboard.  I plan on making more of these for Alison's room so I can keep her bookshelf a little more organized. I like that they are bigger, b/c the large kids books will fit in them.