Monday, August 8, 2011

Onesie Double Skirt

With a new little girl coming I decided I wanted to make some girly baby clothes.  I did not use a pattern for this, I just had looked at two different tutorials.  They made different skirts, but I used the ideas they had on here and there to put this one together. 

You will need a onsie, Coordinating fabric, ribbon and thread.

Measure down to see how long you want your skirt to be.  I marked with a pin where I would sew the skirt, and knew I would want it to be about 7" long, so I decided to cut the fabric 8" to allow for seam allowances.

Measure the waist of the onesie... This one was 20", since I wanted a ruffled skirt, I doubled that to 40".  One tip I did get from multiple blogs was to use a onesie that was a little loser instead of a tight one.  That way it would be easier to get on and off the baby.  If you use one that is tight, it will not have much give when putting it on. 

I cut two pieces that are 8"x20".  I wanted a double layer skirt, which is why I cut two.  You could easily modify this tutorial to make it a single layer.

I ironed the pieces and folded over where I was going to hem.  I find it much easier to hem when it has been ironed, then from pinning.

I did a double straight stitch on the hems.  I find this gives the item a bit more of a finished look.

Once the pieces are hemmed, stitch them together by placing wrong sides together.  Do the same to both.

With the onesie right side out, place the first skirt upside down, inside out around the onsie. You will pin, a lot, that way you have a nice ruffle.  I started by pinning in the middle on the frong and the back (where I put the seam of the skirt).  Then I pinned on the side seams.  I went through by findin the middle of each of the pins in order to keep my ruffles even and consistant.  I found putting a book in the middle of the onesie kept me from pinning the front to the back.

I sewed using a tight zig zag stitch.  The other blogs mentioned that the zig zag stitch would give the dress a bit more give, but a staight stitch would be more secure.  I figured that since this was for a really little one (onesie size 3-6) I could compromise a bit f security.  I sewed right over my pins.  I never do this because it makes me nervous and I hate replacing needles.  But I wantedmy ruffle to be perfect :-)

Now with the onesie right side out and the first layer pulled straight up, start pinning the second layer onto the dress.  Have it also be right side up.  Pin your ruffle as I explained above and also use the zig zag stitch.

This is what you will now have.  Its starting to look cute!

Since we want it extra cute, I started pinning again to put a nice ruffle on top of the skirt.  Pin the same as explained above.

This time I wanted it to be secure, so I used a straight stitch.  Don't forget to back stitch to make it secure.  I did this on all seams.  I also, again, sewed right over my pins to make sure my ruffle worked.  Make sure you double check your seam that you have all of our pins out.. squeeze, pinch andtouch using your fingers.  You would much rather feel it on your fingers than have a little one feel it.

To me the dress needed just a little bit more finishing, so I cut a ribbon to attach aound the waist.  I started by stitching it on the back seam. 

Then around the body I hand stitched s the ribbon wouldnt slip up or down.

I made a hairbow using this tutorial. 

Clip the hairbow onto the ribbon...

Your DONE!!  The hairbow can stay cliped on the ribbon until the little girl outgrows the onesie and then used as a hairclip.

Tuesday, August 2, 2011

Binki Holder

So I really do not want to insult anyone's intelligence by doing this tutorial.  But I thought that maybe my ideas could help with your ideas of how to make one yourself.  I have seen these all around, and have meant to make one forever, just never got too it.  I didnt read any tutorials, just guessed on them :)

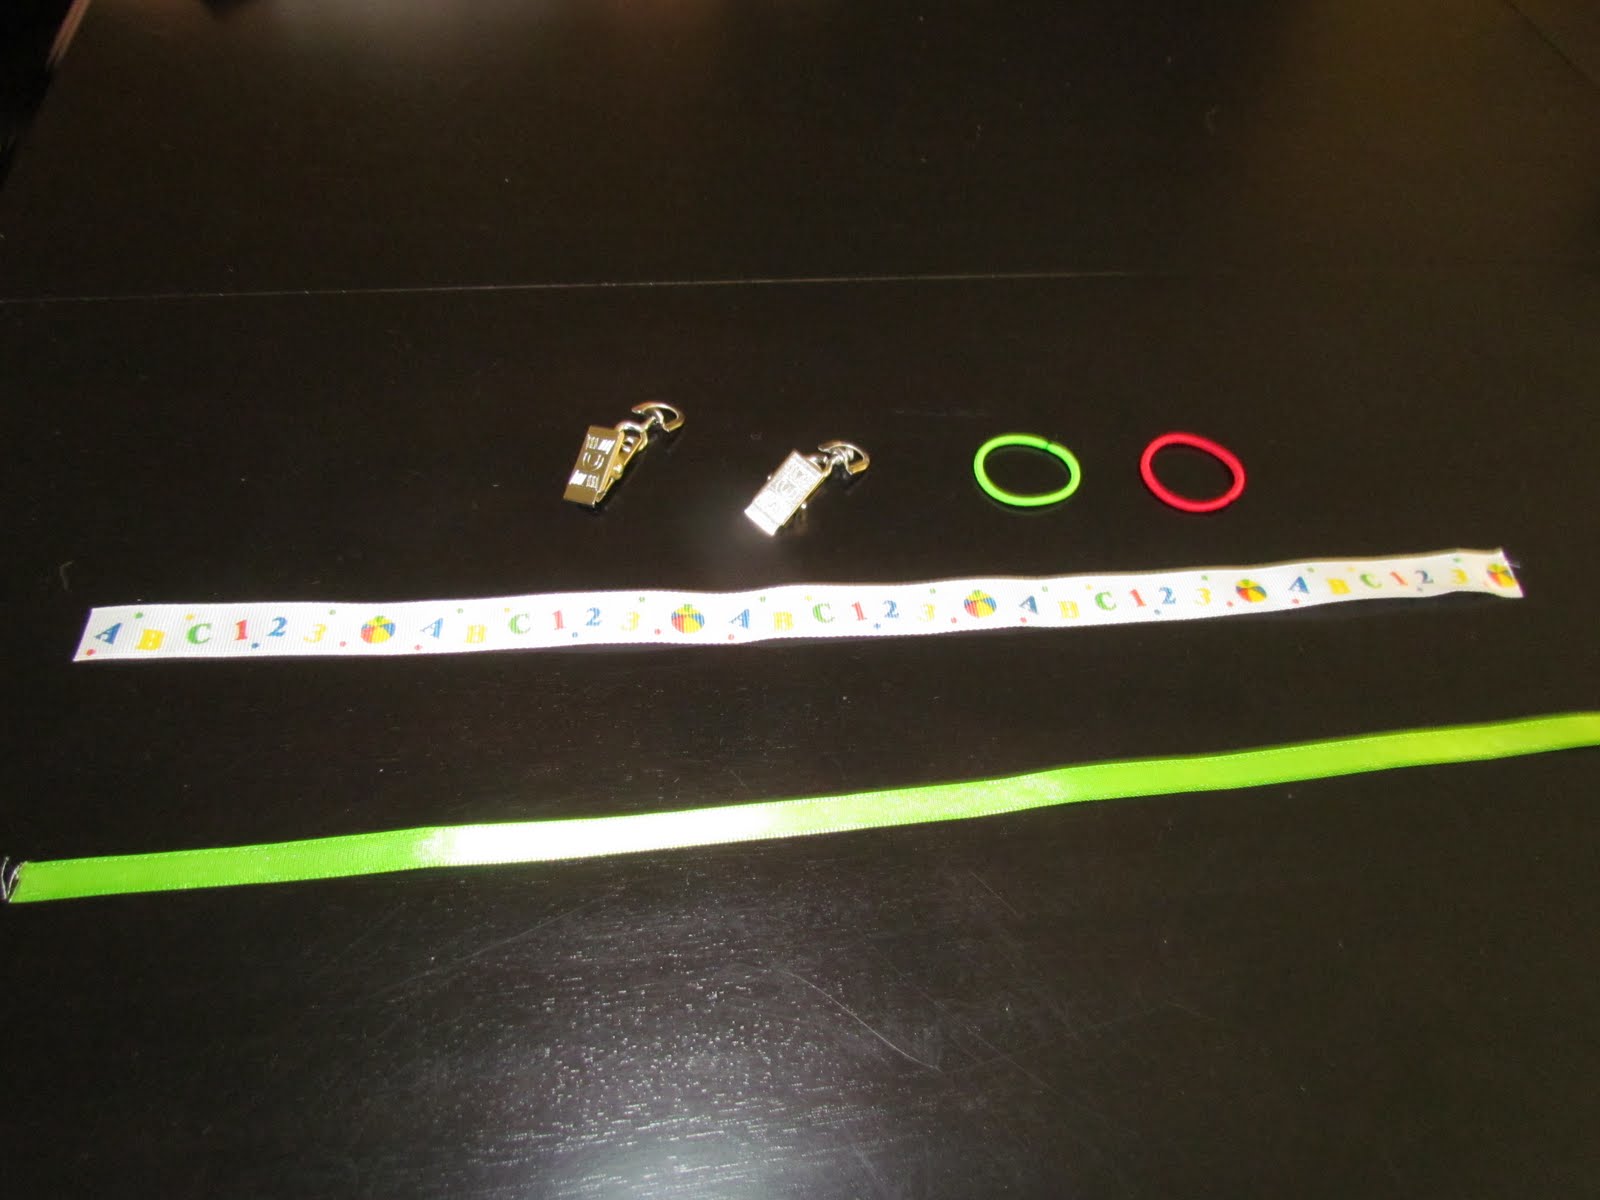
For each binki holder you will need a piece of ribbon (I cut mine to 15") a metal clasp badge holder and a small elastic hair tie.  I made two, thats why you see double of everything.

First I threaded the ribbon through the clip.

Then I went back through again.  I figured having it through there twice would make it stronger.  Stitch it together and do the same with the elastic hair holder.

This is what the elastic end will look like.

And this is the clip end.

Your DONE!! I told you a tutorial on this was an insult to someone's intelligence. 

Now, you can also use these to hold toys.  I know elmo has bit the concrete many times from Alison throwing him out of the stroller for all these years.  Make a longer ribbon and clip it to the stroller and then place the elastic around whatever you want them to hold onto.  You can do this with toys, bottles, cups, whatever your little one likes to toss on the ground.

Diaper and Wipes Clutch Bag

I absolutely LOVE these!  They are perfect for putting your little one's necessities in your purse or diaper bag and only having to grab what you need when you are going into the bathroom to change the baby.  I did not come up with this idea, but this is a tutorial of how I make them.  I think they are great for gifts or to make for yourself.

You will need two pieces of fabric that are cut to 10"x25".  I made this one a lttle wider than some.  It would probably fit plenty diapers or a change of clotes.  You could make them a little less wide, but I would not make them any shorter.  I have two different fabrics for the inside and outside, but you could use one for both.  You will also need one piece of interfacing.

You will also need a ribbon cut to 22" (again you can judge the length of this depending on you opinion), a hairtie that matches the fabric and a cooridinating button.

Iron on your interfacing to the wrong side of the piece of fabric that you plan to go on the outside of the case.

I then folded the fabric in half width wise.  On one end I placed a pin 4.5 inches down and 2.5 inches in.  This will make the taper for your flap.

Cut the fabric straight from each pin.

Now put your right sides together of your two pieces of fabric.  Pin up the side of the flap (not the very top) and across the very bottom.  Sew together where you pinned, using a straight stitch and back stitching.

Turn it rightside out, and this is what it will look like.

Now bring up the bottom so the inside of the bag is on the outside and pin down the sides.  You fold it up to the bottom of where your flap. 

DO NOT FORGET YOUR HANDLE.  I used ribbon for this one butyou could alsomake your on handle out of coordinating fabric.  I pinned it a little further in that way I wouldnt have to take out the pin while sewing, it gives me a little more stability.  When sewing double stitch over the handle a few times to give it added security.

I did a straight stitch and then a zig zag next to it.  This way it would be secure and not fray as much.  I trimmed off all of the extra fabric to make it look cleaner.

Turn your bag rightside out and this is what you have.  Your almost done :)

Remember we left the top of the flap open, go ahead and fold it in.  You might iron it in too if it does not want to stay folded in.  My stayed pretty well so I did not iron.

Fold your hairtie in half and slide it in the opening.  Pin it down so it will not move around.  I folded my flap in half so I could find the middle in order to know where to put the hairtie.

Pin the rest of the opening.

Sew it together with a topstitch, and make sure to go over your hairtie a few times to make it secure.

I topstitched around the whole flap to make it uniform, but you can do it how you think looks best.

Now its time for the Button.  Fold your clutch in half to find the middle and then see about where the hairtie will fall so you can put your button there.  Mark with a pin.  You will want your elastic to stretch some, if it does not stretch you will have trouble with the clutch opening on its own.

And your done!!  Isnt it cute?!?!

You have plenty of room for your wipes case (I will do that tutorial later) diaper, creams and maybe even an extra shirt or onesie.  Whatever you might need to grap and go to change the baby.  Much better than having to dig through a bag or purse to find it all while the baby is there getting messier and messier.

As you can see it all fits in there with plenty of room.  This one is large, like I said before, so decide how wide you want it to be and adjust from there.  Be creative and enjoy!

I will add pictures as I make more :-)  Pictures give me lots of ideas!
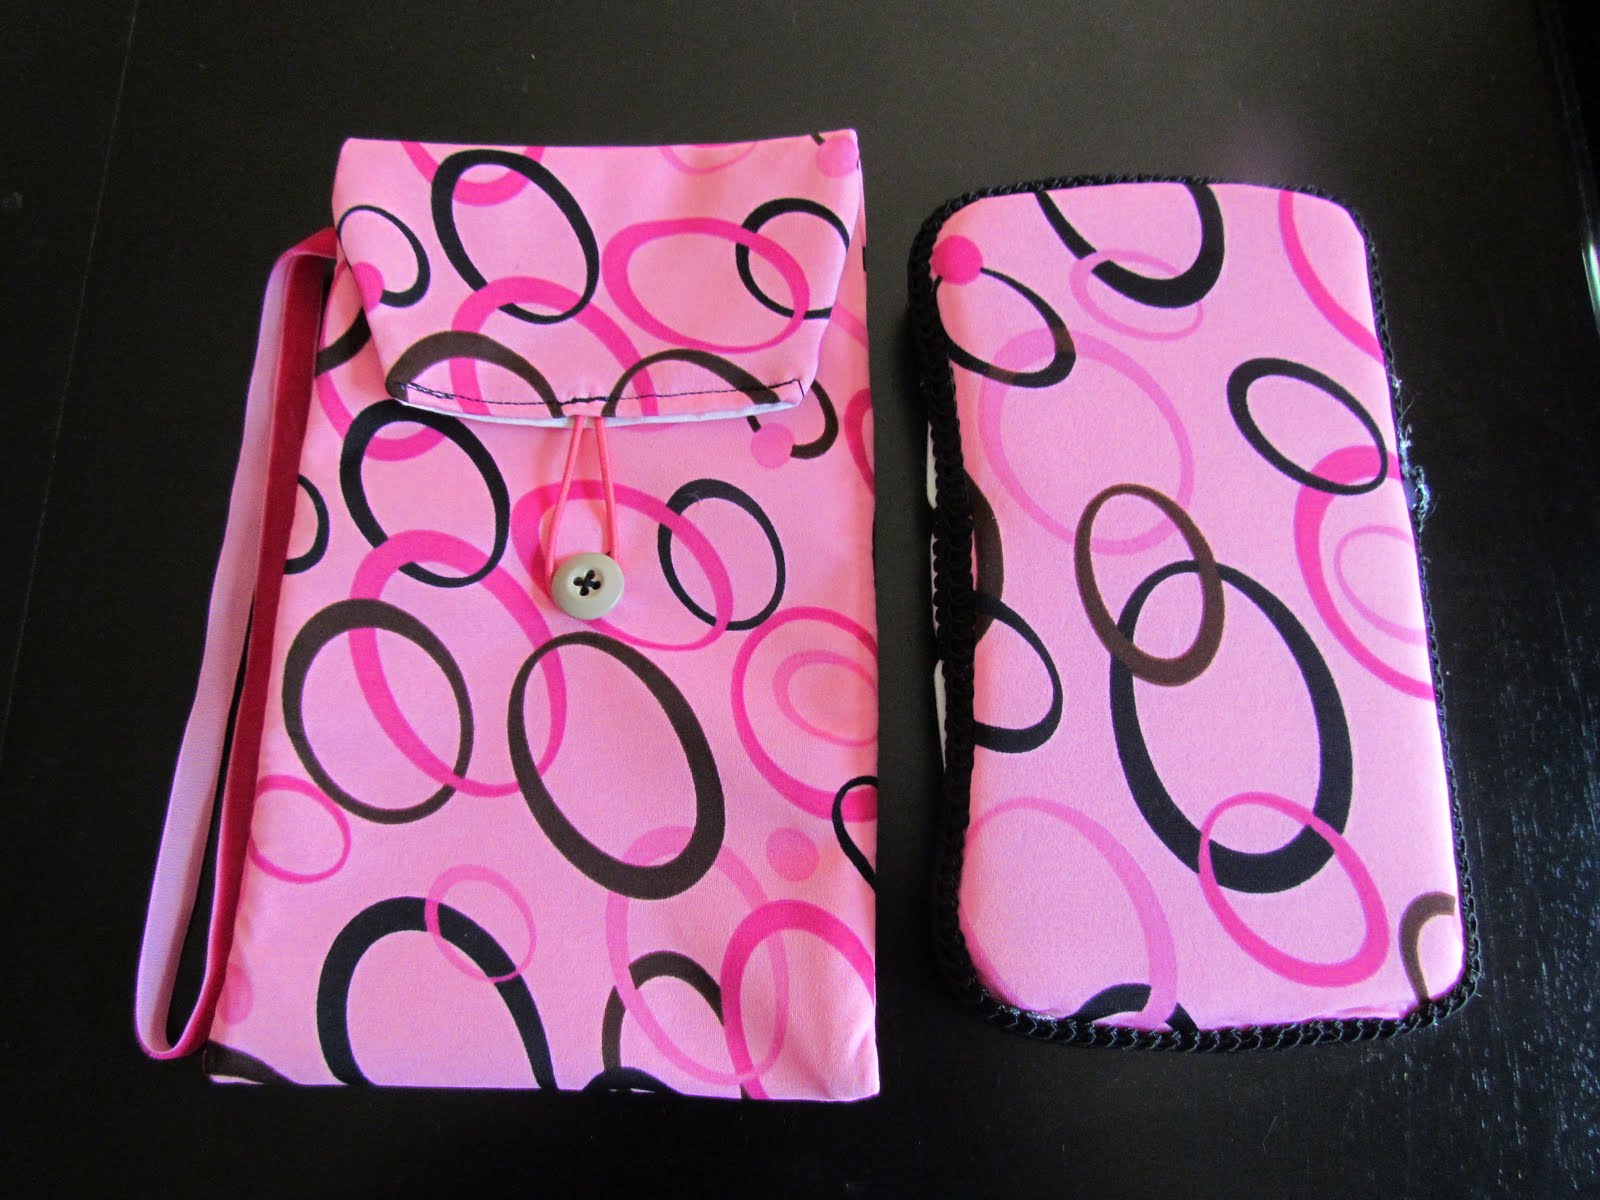
This one was actually made out of lycra material.  You can use most any material for these clutches and wipes cases!

I reall liked how this one came together.  I had a small piece of fabric so it was limited to make a whole one.  As you see you can be as creative as you like and still have a beautiful clutch.  I thought the rhinestones gave this one just a bit more.  The material could have gone for eiter a boy or girl, but I likd the purple with it best.  Also, the purple is a linen material, and the polka dots is a cotton.  Since the linen is heavier I did not use any interfacing and it stays together just fine.