One thing that I have learned since being a parent is that it is almost impossible to keep your vehicle clean. I am always hearing it from Bob that I need to clean mine. Even though I keep a bag for toys, they still end up everywhere. Plus the distraction of a little girl asking me to grab things while driving down the road. I figured it was time to make some sort of organizer. I got the idea from
here, but just sort of made it up as I went. So you have a few options of patterns.
You need to find a fabric you want for your backing. I used a purple linen. Then the fabric you want for your pockets. I picked a decorated lycra, so I also used binding so it would not stretch too much. If you use cotton you shouldnt need the binding. So here is the list (you can adjust as you need to. If you like where I made the pockets use these sizes, if you want your to be a different sizes or places just adjust that):
2 - 17"x25" of the fabric you want for the back. (I measured the back of my seet to get these sizes)
1 - 17"x25" of fusable interfacing.
2 - 2"x6" in the backing fabric (for tabs to hang organizer from)
1 - 17"x10" Lycra piece (bottom pocket)
1 - 17"x5.5" (top pocket)
2 - 6"x7" (center pockets) I decided to use a contrasting cotton fabric.
22" elastic
Take one of your back pieces and adhere the interfacing to the wrong side of it. This will be the piece you put all the pockets on.
Take your two 2"x6" pieces. Iron both in half, then fold each side to the center. The top one is done, the bottom one is showing the process. Once they are ironed, top stich over them to hold them closed.
Take both of your lycra pieces (17"x10" and 17"x5.5") and top stich your binding to the top long side of them. If you decide to use cotton (much easier to work with than lycra) just hem the top side.
For the top pocket put the right side of the lycra to the right side of the linen and measure down 7". Pin and stitch the pieces together.
The bottom one will be stitched together later on. Place the wrong side of the lycra to the right side of the linen. I knew I wanted a side pocket that was 5" from the right edge. So I just did a straight stitch there to hold the lycra to the linen.
Measure in 4" from the edge of the top of the linen. Pin and sew your hanging tabs on here. You should measure your vehicle seat to see if you need to adjust how far in the tabs are.
I wanted my top pocket to have 3 different pockets. I did mine at 4" and 8" in from the edge. Just pin in those places and do a top stitch going vertically on the pocket to separate them.
Now its time to make the cotton pockets. I decided to use the cotton becaues I wanted a couple small pockets that were sturdy. There are a few ways to do them, but this is how I did this time. Using your iron fold down the top of the cotton 1/4" then another 1/4". Top stitch over those to hem the top.
Then fold in the two sides of the pockets 1/4" and iron.
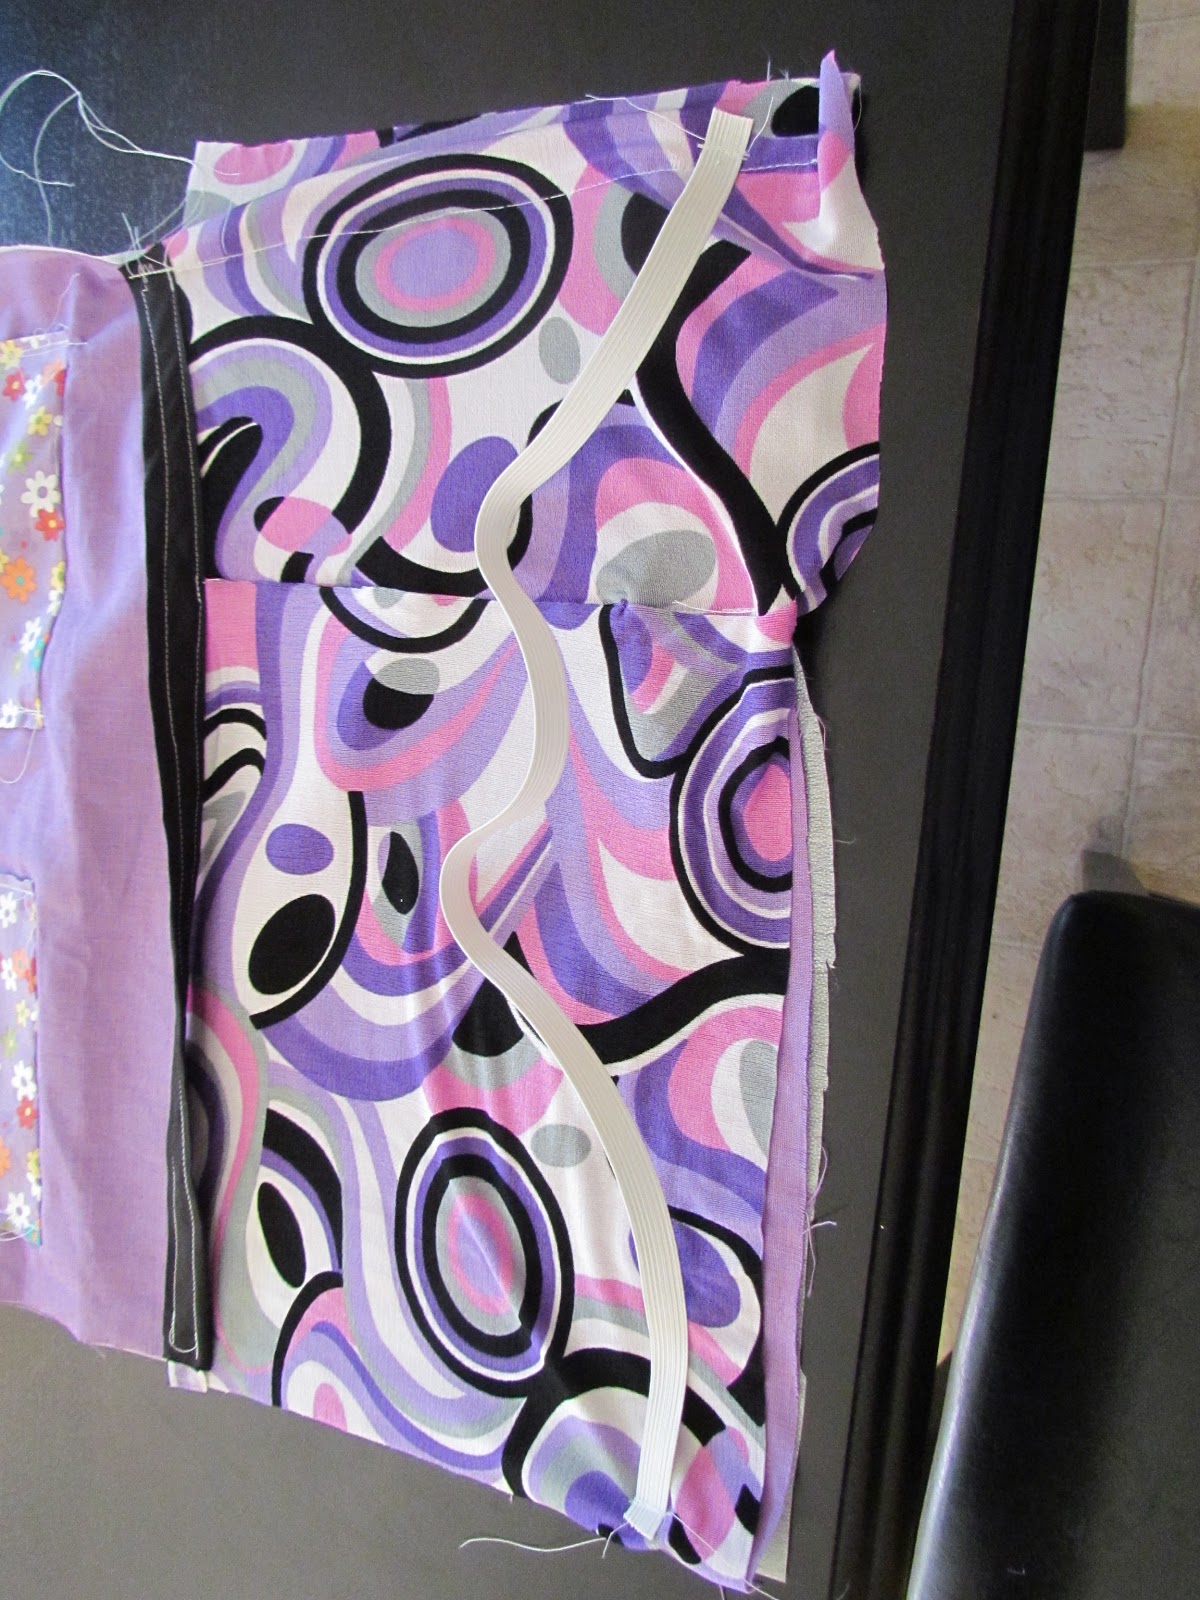
Sew those pockets on by putting right sides together of the cotton and linen. Meausre where you want them to lay. I went 6" down from the top pocket. Stitch the botth of both pockets. Then fold them up and do a top stitch along both sides. It will look like the picture above.
Now its time to attach your elastic. This will keep the bottom of the organizer tight against the back of the seat. I meausred up about 1.5" from the bottom and then sewed the elastic to the top of the bottom pocket. Measure your car again to see where you should attach this. My elastic was also 22", again measure around your seat to see how long you want yours to be. You will want this to be tight.

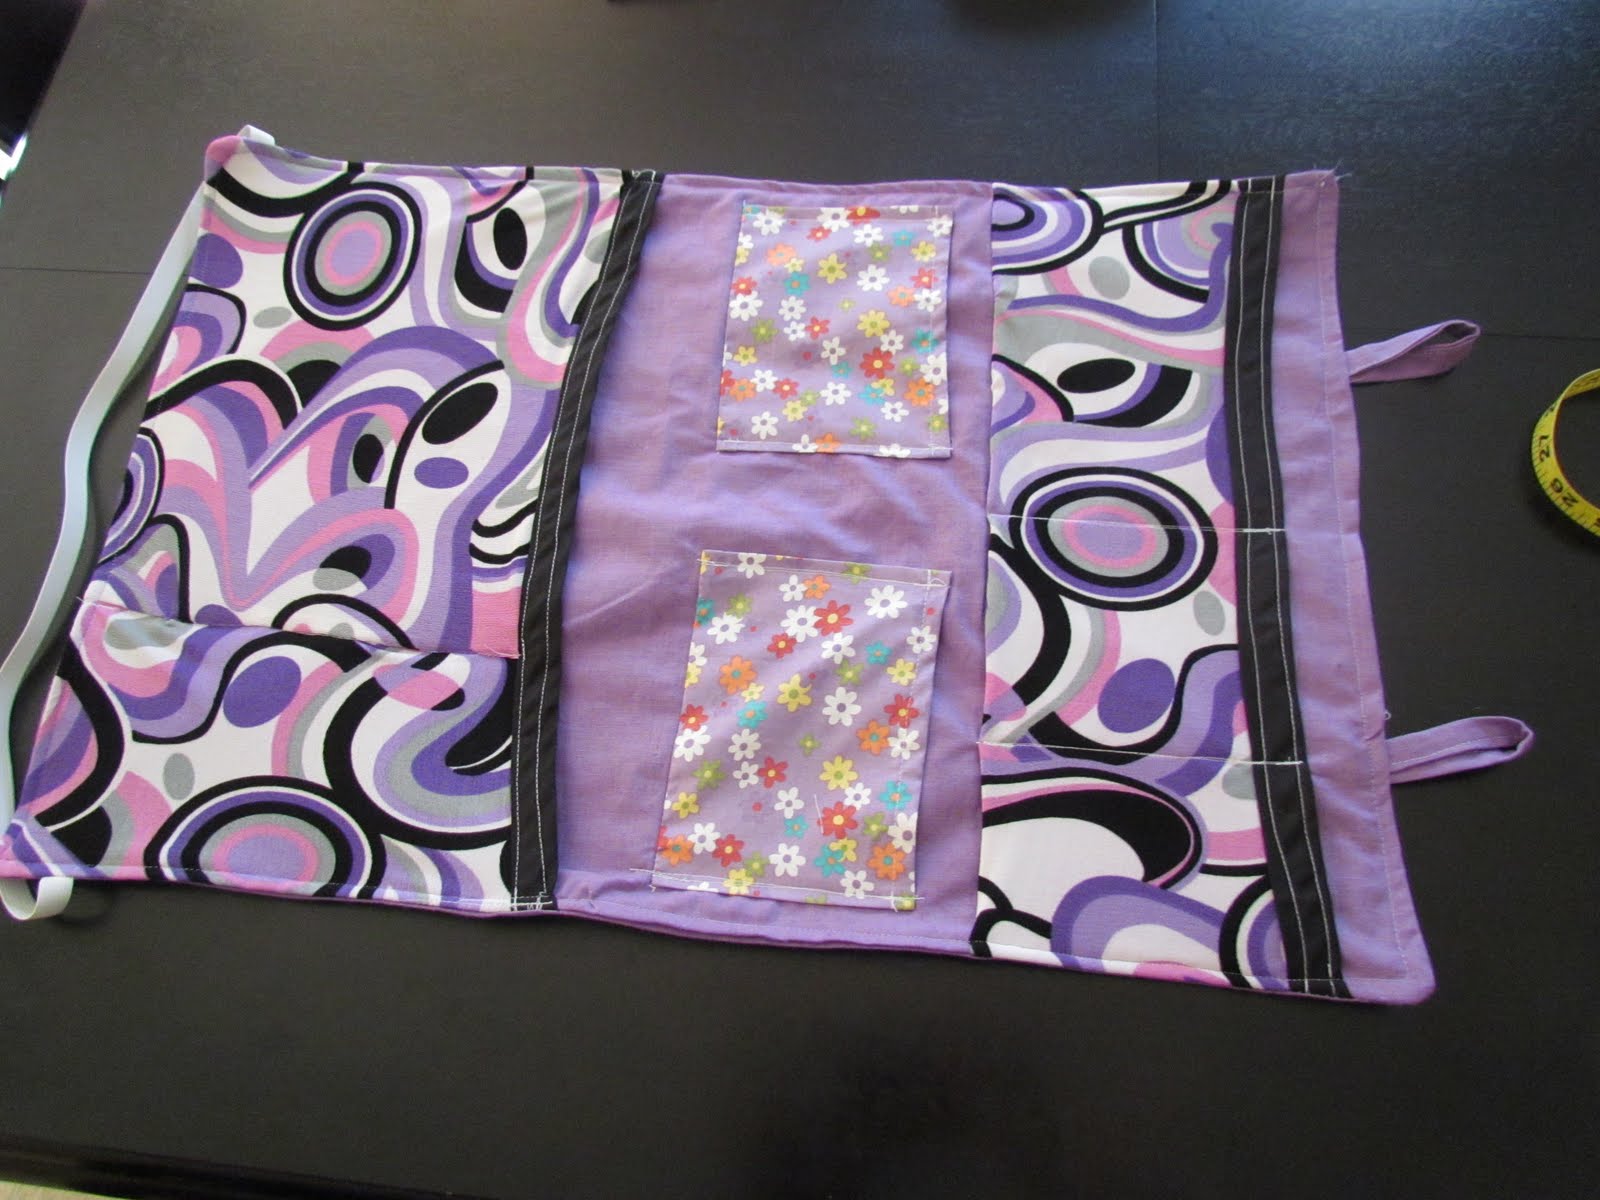
I didnt take pictures of the next step, but put the right side of the other piece of linen towards the right side of the piece with the pockets. Pin them together, and stitch around the whole piece. Leave an opening so you can turn it right side out. I did a straight stitch, then a zig zag stitch. I left my opening at the top since the bottom had the pocket and all that. After you stitch it around trim off any excess fabric around the edges. Turn the piece rightside out, and push out all your corners. I find that chopsticks work great for this. You will then have the above picture. (note the elastic is folded to the back, and make sure your tabs are layed down when you attach them.
Now go around the entire piece and top stitch around the edge. This will close your opening at the top and make the organizer more secure.
Pull your elastic over the seat and push it into the opening where the back of the seat meets the seat part. I used a piece of ribbon to tie the top from tab to tab around the head rest. Make sure it is tight on there. You are now ready to fill it up with the necessary toys!
I made the bottom pocket larger so it could hold books.. The top should hold Alison's Ipod and sunglasses, adn then small toys in the middle pockets. I wanted to use the lycra becuase not only is it pretty but it will stretch with the toys. It will give Ailson a better chance to fit in those odd shaped toys (like dinosaurs) into the pockets. I am hoping this will help her keep everything picked up and my floors more organized!